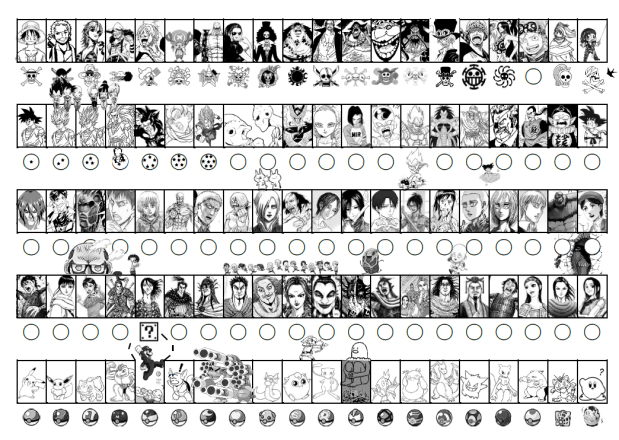
I use sticker sheets in all my classes. The students get one sticker sheet during my first lesson when they are first year students. They can use this sheet for all three years of JHS. I do however offer new sheets at the beginning of second and third year for any students who lost the old sheet, their old sheet was damaged, or they just want a fresh copy.
I also offer prizes to the students. The prizes are small pictures I print, laminate, and cut. I tend to vary the amount of stickers needed to get a certain type of prize based on popularity. I will alter these prices over time as I revise the sticker sheets.
I used to make these in Photoshop, but Microsoft Word is fine and easy to make uniform sized pictures. I use the tables as guidlines and crop the images to fit.
I am providing you with the most recent PDF of my sticker sheet. You can also download the Word Doc I used to make it. The sticker sheets of the past I originally made in Photoshop, but making them in Word means alterations can be done quickly and on school computers. Some schools don’t allow personal laptops and I doubt any schools have computers capable of running Photoshop. The quality takes a dip, but after the end result is printed off and run through a bulk copier you won’t notice.
One word of advice is to always save your finish document as a PDF to print from. If you have a Word Doc with a lot of images the printing will sometimes be misaligned and you’ll have fractured shapes, tables, and images. Saving as a PDF and then printing condenses the information so your poor school computers can handle the work.
Because of budget…
For JHS teachers sticker sheets go well with rewarding winners of activities, volunteers that speak in class, etc. Make sure you JTE agrees to use it and you acknowledge how it will be used, before you make copies. I leave it up to the individual JTEs so they can give out stickers also if they want. Most choose to use it as something we only use when doing ALT lessons.
Warning on ES
For elementary school students be wary of using stickers. For 5th and 6th year students there should be no issue, but younger students may be driven to tears if they don’t get at least one sticker in the class. I don’t suggest using stickers at all in ES if you’re there full time, but if you only visit the school a few times a year then it would be alright as long as you bring enough stickers for everyone, and give everyone a chance to earn one. Like at the last 5 minutes of class you can ask, “Who has no sticker?” and then those students can be asked a simple question from the lesson or just ask them their name. Try to let them feel like they earned the reward. So make sure you budget enough time at the end of class.
OK, Boomer…
Stickers are cheap off of Amazon. I like to use the Emoji stickers. My schools have an English budget so I tell them what to get, but even if they didn’t I would buy them myself.
This is the most recent sticker sheet. The PDF is good to print now. The DocX file should be used to customize your sheet as you like with whatever you are personally intersted in. Sometimes I’ll stick pictures of the teachers in it. Copy paste your image. Scale it down. Then place it where you like. Send the image to the back so it’s behind the guidelines of the table. Then crop it down to fit. You can merge and split cells as you like. If you don’t know how to do that it’s not hard. I suggest just switching between solid and blank lines instead of deleting cells altogether.
This is not something I use personally. I’ve had 3 teachers ask me for “reading maps” out of maybe 30 teachers I’ve worked with. A higher number than that simply make their own reading maps that I see the students using. Personally, I have not given it much thought on how to use these, but I made them nonetheless. If you need something to track participation progress then feel free to use one of the reading maps I’ve made.
The only time I’ve used these was during activities in lieu of a scoreboard to track points. I printed a large version and hung it on the chalkboard. Each group had a numbered magnet game piece. As the groups completed problems in the activity they rolled large 20-sided dice and move their magnets around the map. Was fun. Haven’t bothered to do it since, but it was a nice simple and clean way to keep track of points.
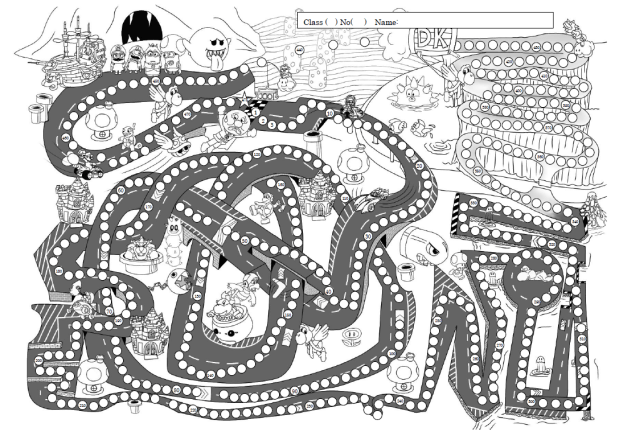
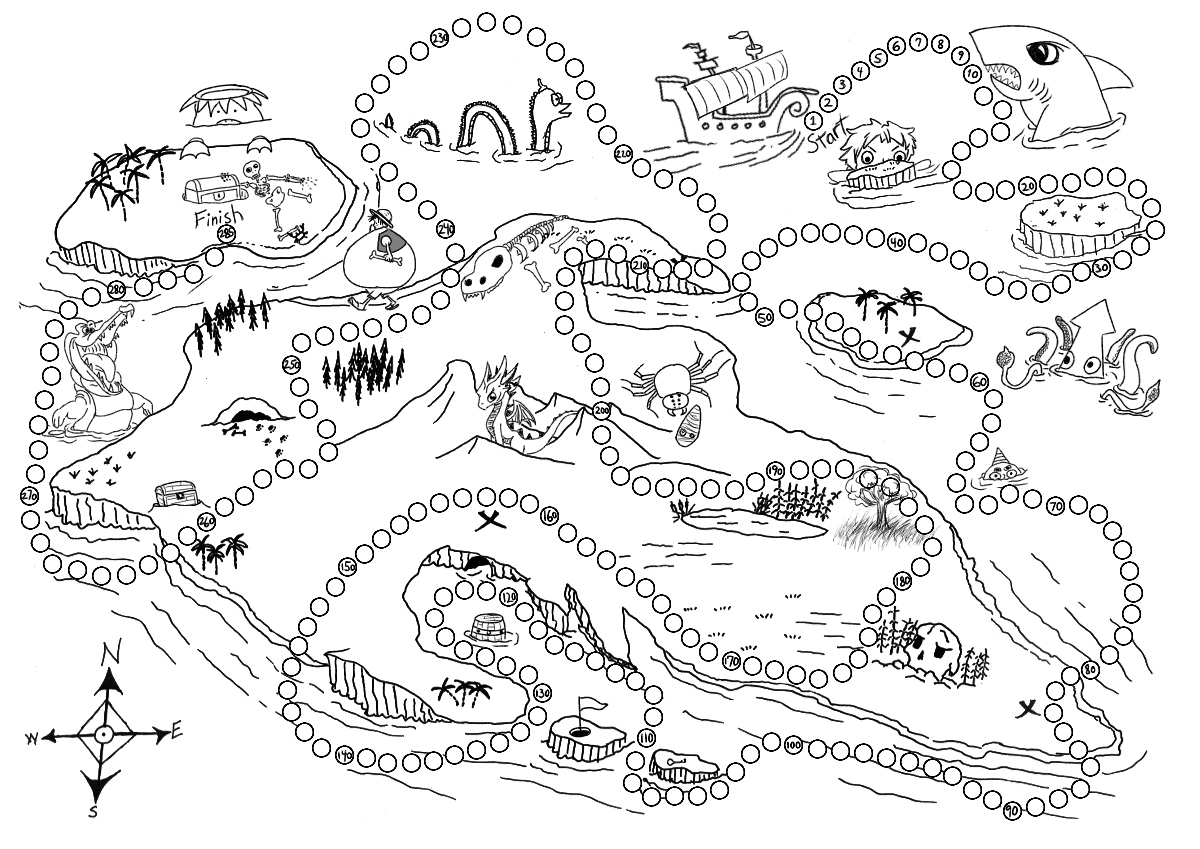
This is a low quality JPG of the most recent reading map I’ve drawn. It is also the largest one I’ve made with 475 spaces. It was drawn entirely digitially in Ibis Paint X, but the circles to color in were added in Word. This image is just a screen shot of the PDF so for the best quality download the PDF version below.
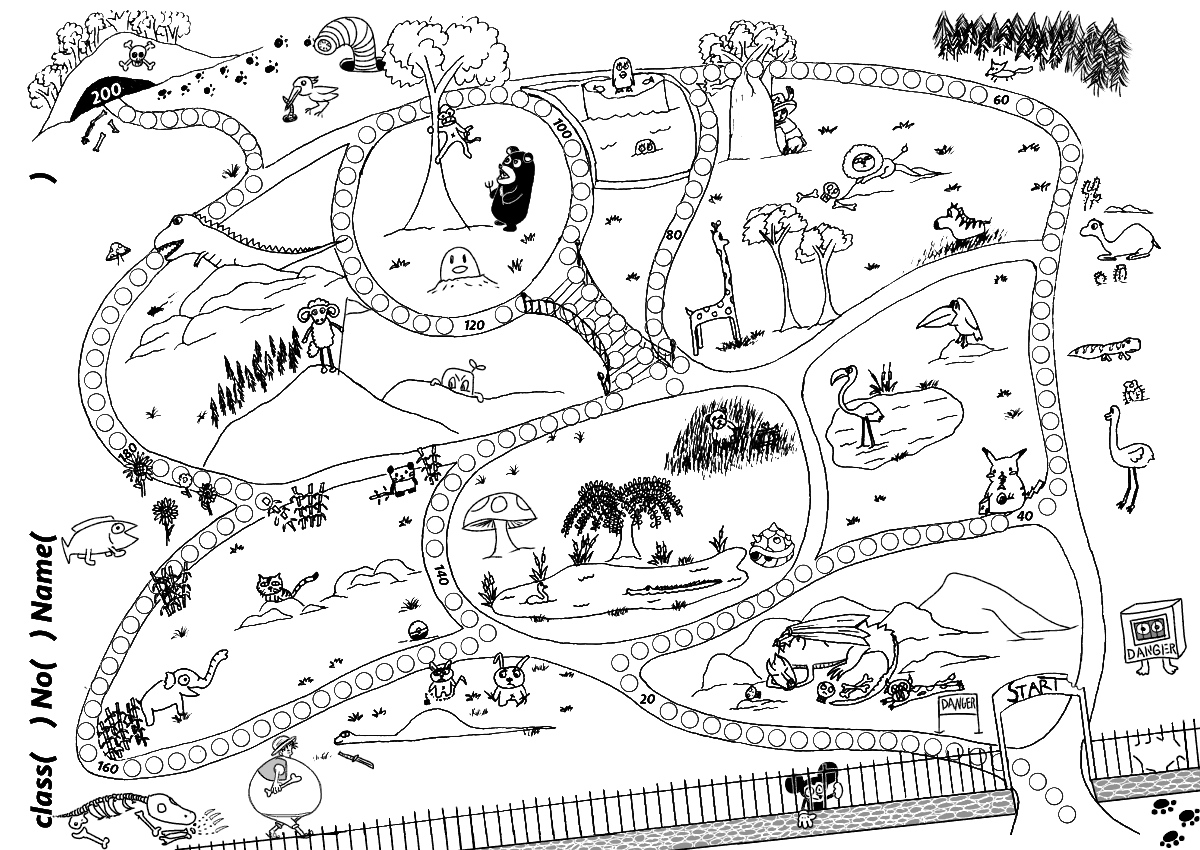
This was the second drawing map I made at the request of the students who wanted a new sheet with a “zoo” theme. I recently redrew this in Ibis Paint X to replace the hand-drawn version. This map has 200 available spaces.
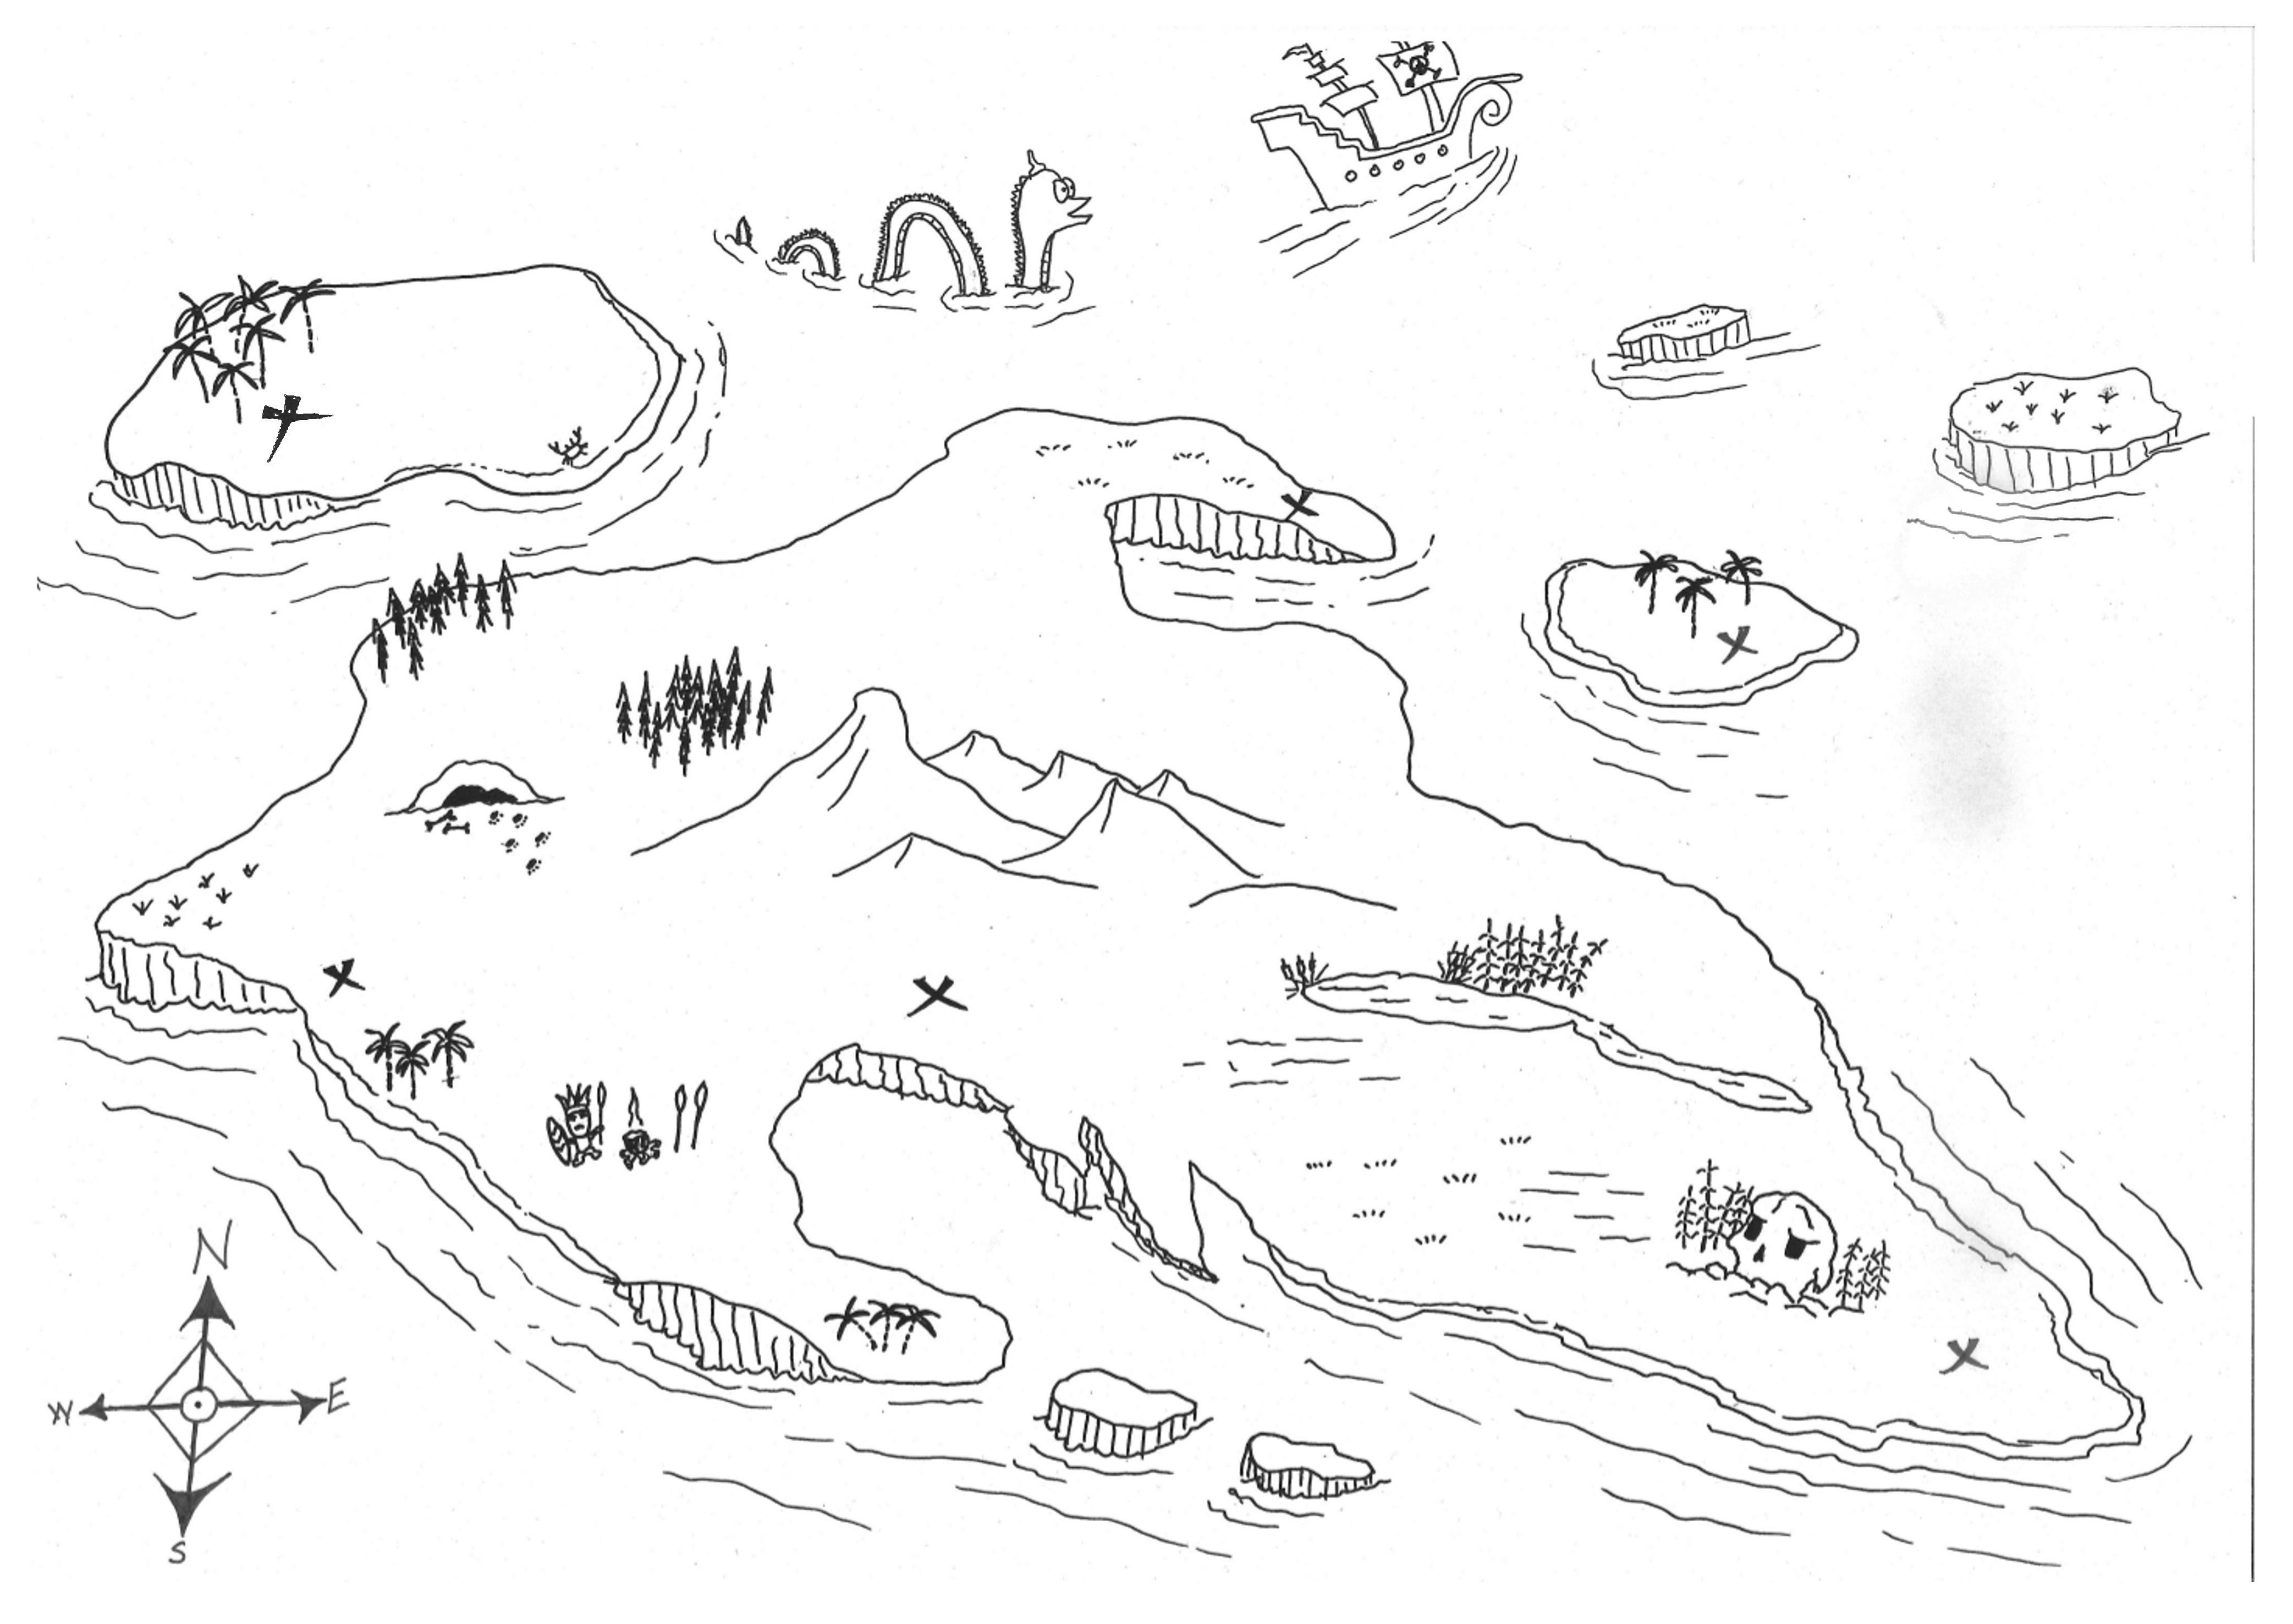
This is the original reading map redrawn in Ibis Paint X. I had no real idea what the heck a ‘reading map’ was so I just drew a treasure map. The teacher was happy with it though, as were the students. The original map had very few spaces, but in the redrawing process I increased the number of spaces to 285.
This is a fun lesson I do with my first year students. Lessons similar to this work well to get full classrooom envolvement. I have a similar lesson for the second year students when they learn, There is and There are.
Generally speaking lessons will focus on 4 different elements: Reading, Writing, Listening, and Speaking. Unlike some, I disagree that every class should use all 4 of these. Granted you will likely use some of all 4 in every lesson, but that’s semantics, your lesson focus doesn’t have to incorporate all 4.
The students will be doing a lot of reading, writing, and listening with their JTE through the textbook curriculum already. If I had to pick the weak link I would say it’s speaking, along with interactive listening. I tend to focus my lessons on active communication unless otherwise requested. E.g. Sometimes JTEs will want to improve reading test scores so I will prepare a reading test exercise.
I also disagree with my more scholarly colleagues that test prep has to be serious. Anything that isn’t fun is, for me, hard to grind through. I postulate that if the students are enjoying themselves they won’t notice they are learning, well won’t notice as much… Most of my activities and lessons lean heavily on a fun/competitive aspect as well as group learning. Japanese schools and classes use the “block system” so each class is typically further divided into 4-6 student groups with a group leader. Yes, tests are done individually, but group learning is highly advantageous for getting close to 100% classroom participation. So the material I make while challenging is interactive and done in groups so either they all succeed or they all fail. Even when I was teaching elementary school I quickly fell into this method. A single student could be many things, but if one of those things is shy or anxious then what should be a fun lesson could leave a single student in tears. Relying on the block system that the students already understand and know reduces the pressure on an individual student and pools their language ability. While I may require students to answer individually, if they are in a group then the stronger students can model and help coach the others.
Laying out the steps, step-by-step
My favorite sort of lesson will basically run itself after the students understand the guidelines. The first step in this is making sure the JTE understands the guide lines. When you lay out your explanation think long and hard about how you will instruct the class. Don’t use 5 words when 2 would suffice. Don’t rush through all 10 steps of the activity. If it is a new activity then flesh it out. There are 3 methods that I usually use for this.
Explain in sets of 3. If I have 6 steps to an activity I will explain steps 1-3 first. Then will go back to 1 and check for comprehension. I will ask the class, “Ok. Step 1. What do you do?” And then I or I will ask the JTE to pick a student to explain to the class in Japanese what the first step is. After we solidify the first 3 steps then I will do the same for steps 4, 5, and 6. And so on. It is important that you explain to the JTE that this is how you will check comprehension so they don’t just say everything in Japanese. You’re not checking the JTE’s comprehension. If the students can’t understand you can do one of 2 things. Either go over the steps again. Or give them 1-2 minutes on a timer to talk with the students next to them to try to figure it out.
Model the steps for the class. This is better for lower level classes. Clearly state, “Step 1” and then do the gesture of what step 1 is. This can also be broken into sets of 3 to back track and again ask the students to explain what they have to do to check the comprehension.
Written directions. You can put the instructions of your activity on the worksheet. Diagrams and pictures help make it easier to understand. Then go through the steps as a class and check for understanding.
You can of course use other techniques and combine and mix these to suit your own style and the individual classes.
Active communication activities
A typical active communication activity will look like this:
Ask ALT a question
Listen to the answer
Write about the information you learned
Tell the JTE about that information
Get points and go back to step 1.
Depending on the level of the class the question could be predetermined by the ALT and checked by the JTE or you can give varying levels of freedom to customize each question.
For an advanced class I might just say, “You can only use a verb once.”
For an intermediate class I might give them the verb they must use for each question, but then let them customize the rest of the question. E.g. “What ________ do you play _______________?”
For a low level class I might give them options they have to pick from. E.g. “What sport/game/instrument do you play?”
For those classes that you only aim to survive I give no options for the questions.
Point Systems
I typically use a randomized point system for activities. This has multiple utilities. The main reason I use this is to keep the students engaged and competitive. But making the number of points they receive random prevents the smartest group from always being the winning group. Statistically they will still come out on top more often than not, but it gives the rest of the class reason to not resign themselves to always losing. I use 2 main methods for points.
Rock-paper-scissors. This is interactive and the students love it. I do 3 variations of this and 2 different point values systems.
. Set point value system. This one I write this on the chalkboard: ○=5 △=3 ×=1 A win is worth 5 points, a tie is 3 points, and a loss is 1 point.
Variable point value system. This time I write on the chalkboard: ○=5 ×=3 △=1+ Again, win is worth 5 points, loss is worth 3 points, and a tie is worth one point and you go again. If the students continue to tie then they can keep accumulating points. E.g. three ties and a win would be worth 8 points.
One on one. The students pick their champion in their group and they play vs the teacher, either ALT or JTE.
4 on one. All students in the group go against either the JTE or ALT. (If a group is lacking in members one student can use two hands, i.g. double points. If a group has an extra member then they have to rotate who can play.)
2 step check. This method can only be used when the students have to check or ask the ALT something and then show the final answer to the JTE. Typically I do rock-paper-scissors against 3 students and they add their points. Then when they do the final check with the JTE the fourth student will play against the JTE and that will be the point multiplier. E.g. First three stududents all win (5+5+5) and the fourth student also wins 15 x 5 = 75 total points.
Dice roll. The advantages of dice is they’re easy. You can modify it as you like. These are the typical variations I do.
One die. I make a dice out of cardboard with tape and boxes. It’s not hard. Of course you can just use a normal die.
Multiple dice. You can tell them to add the numbers. You can also tell them they get x number of bonus points for rolling a double, two doubles, three of a kind, four of a kind. I got some D&D dice in various colors. The smallest is a pyramid that goes from 1-4 and the largest going from 1-20.
Multiple dice and a multiplier. They roll the dice and add them together, but I might install a multiplier at some point of the activity. Say if they get a certain answer I might write “2x” on their paper so their points then are double. Start simple and you can add a new rule for the points every few months or so.
Downside of dice is it can be too distracting or get the kids worked into a frenzy or you lose time if dice fall on the floor (I made a dice tower to void that issue).
I do use other point methods, like lucky number draw, table-tennis ball draw, and playing cards. The lucky number and table-tennis ball draw are easy, but you have to prepare a box and the pieces of paper or balls with the points on them. It can also make cheating easier or prove too distracting. Playing cards is easy as well, I would remove the face cards or explain their value beforehand. You can also make doubles, two of a kind, three of a kind etc worth extra points. It’s best though if you only do a two card draw for time’s sake and you better be fast at shuffling.
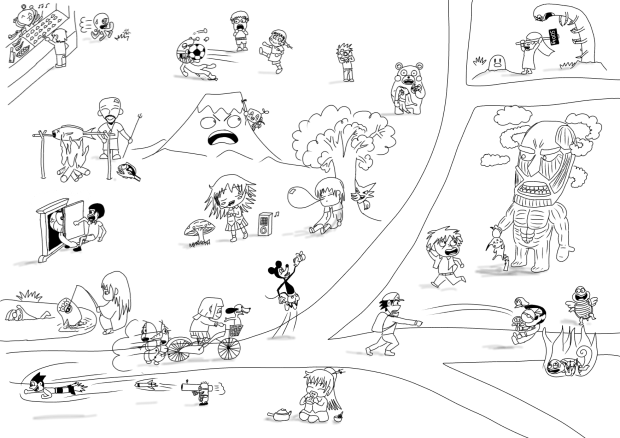
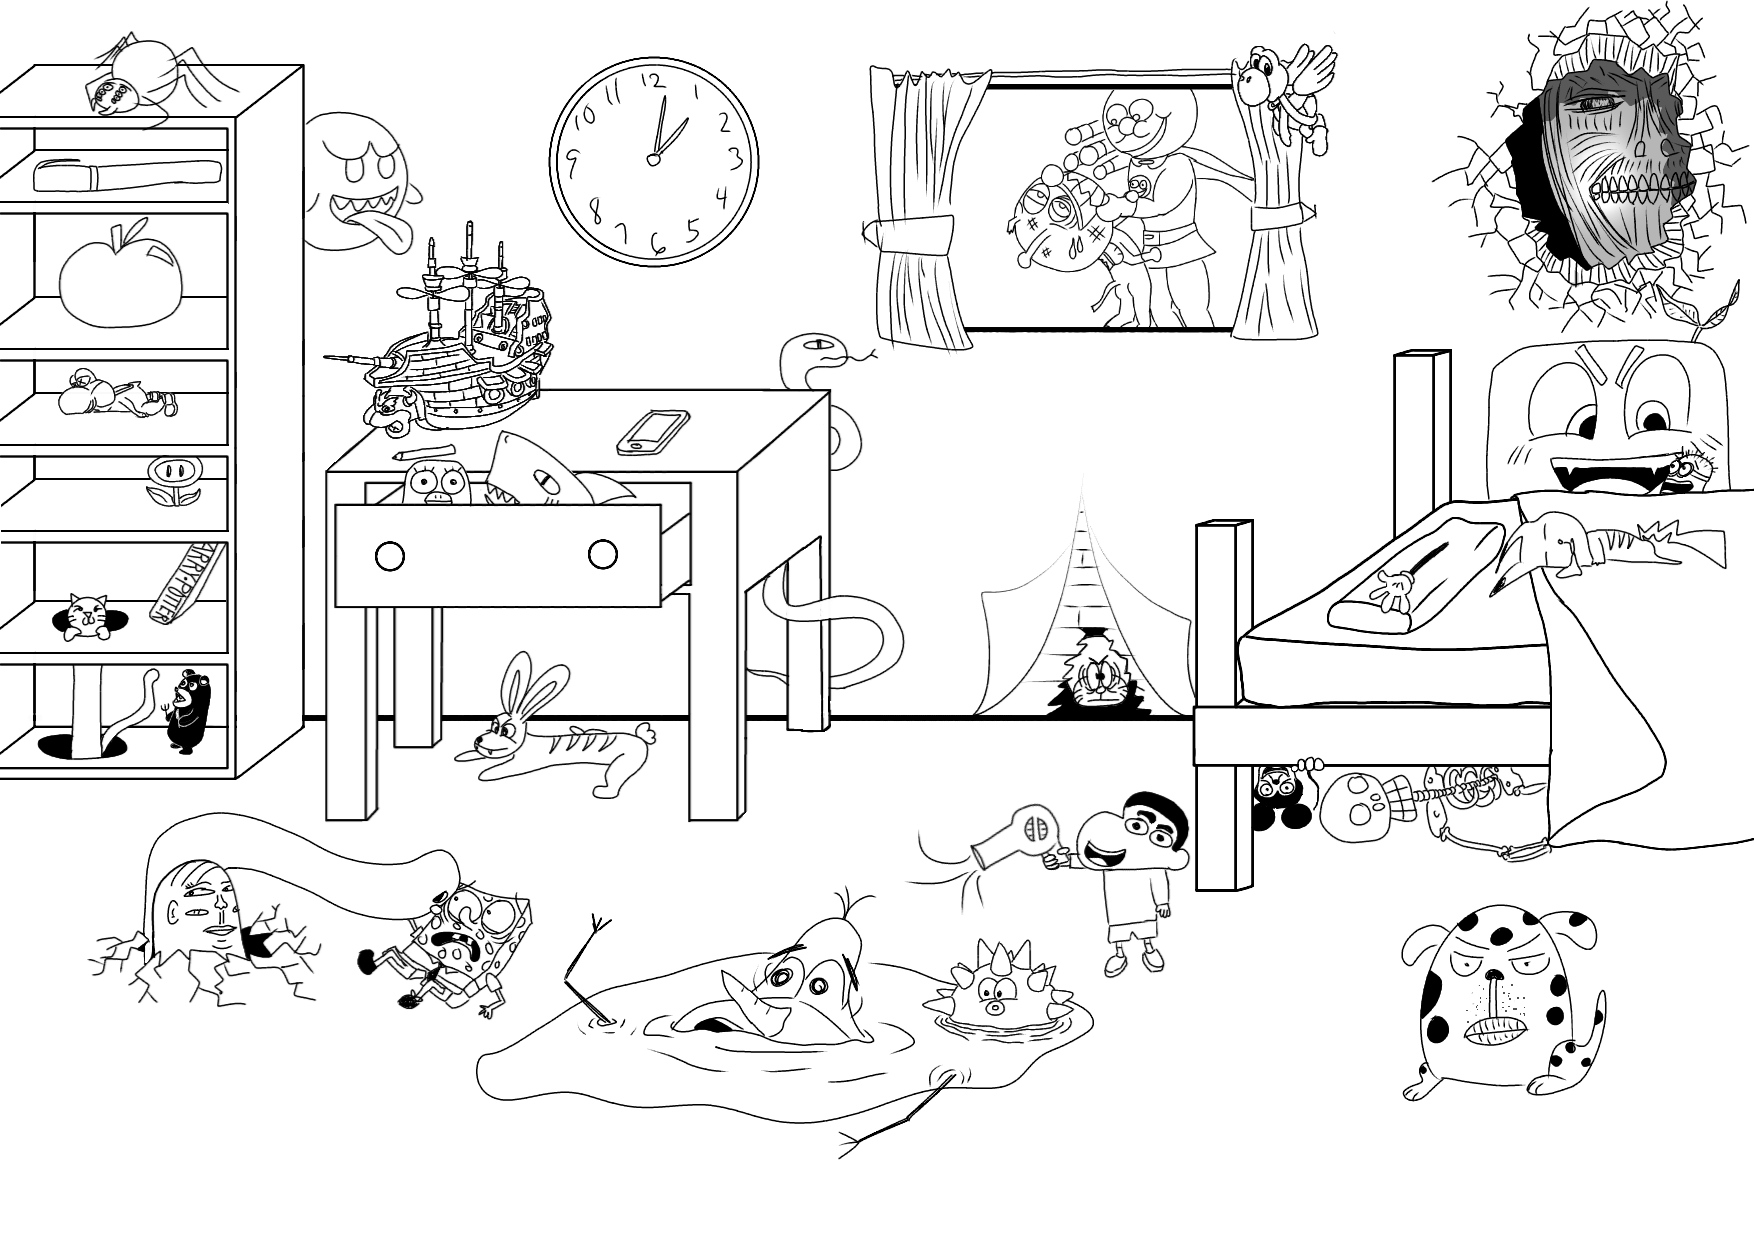
A JTE came up to me and asked me to draw her a picture of a lot of characters mid action for an observation lesson she would have the following month. But she wanted to start working on it so she was hoping I could finish it in the next few days. I drew it out on a large A3 sheet of paper with a pencil and then inked it. After I switched to pen any mistake or change I decided on required me to use whiteout and then run the picture through a copier. Eventually the finished product was scanned so it could be added to worksheets.
That picture proved useful for many different lessons in all grades. I eventually redrew the entire thing in Ibis Paint X on my tablet. Now I offer this drawing and a general lesson plan and a few accompanying worksheets to you.
FYI the first two images are png with no background for the most part. So if you’re using a mobile device it may appear mostly black. If you print the image (on white paper) it will be fine. The third image is a jpg so it appears fine.
With names.
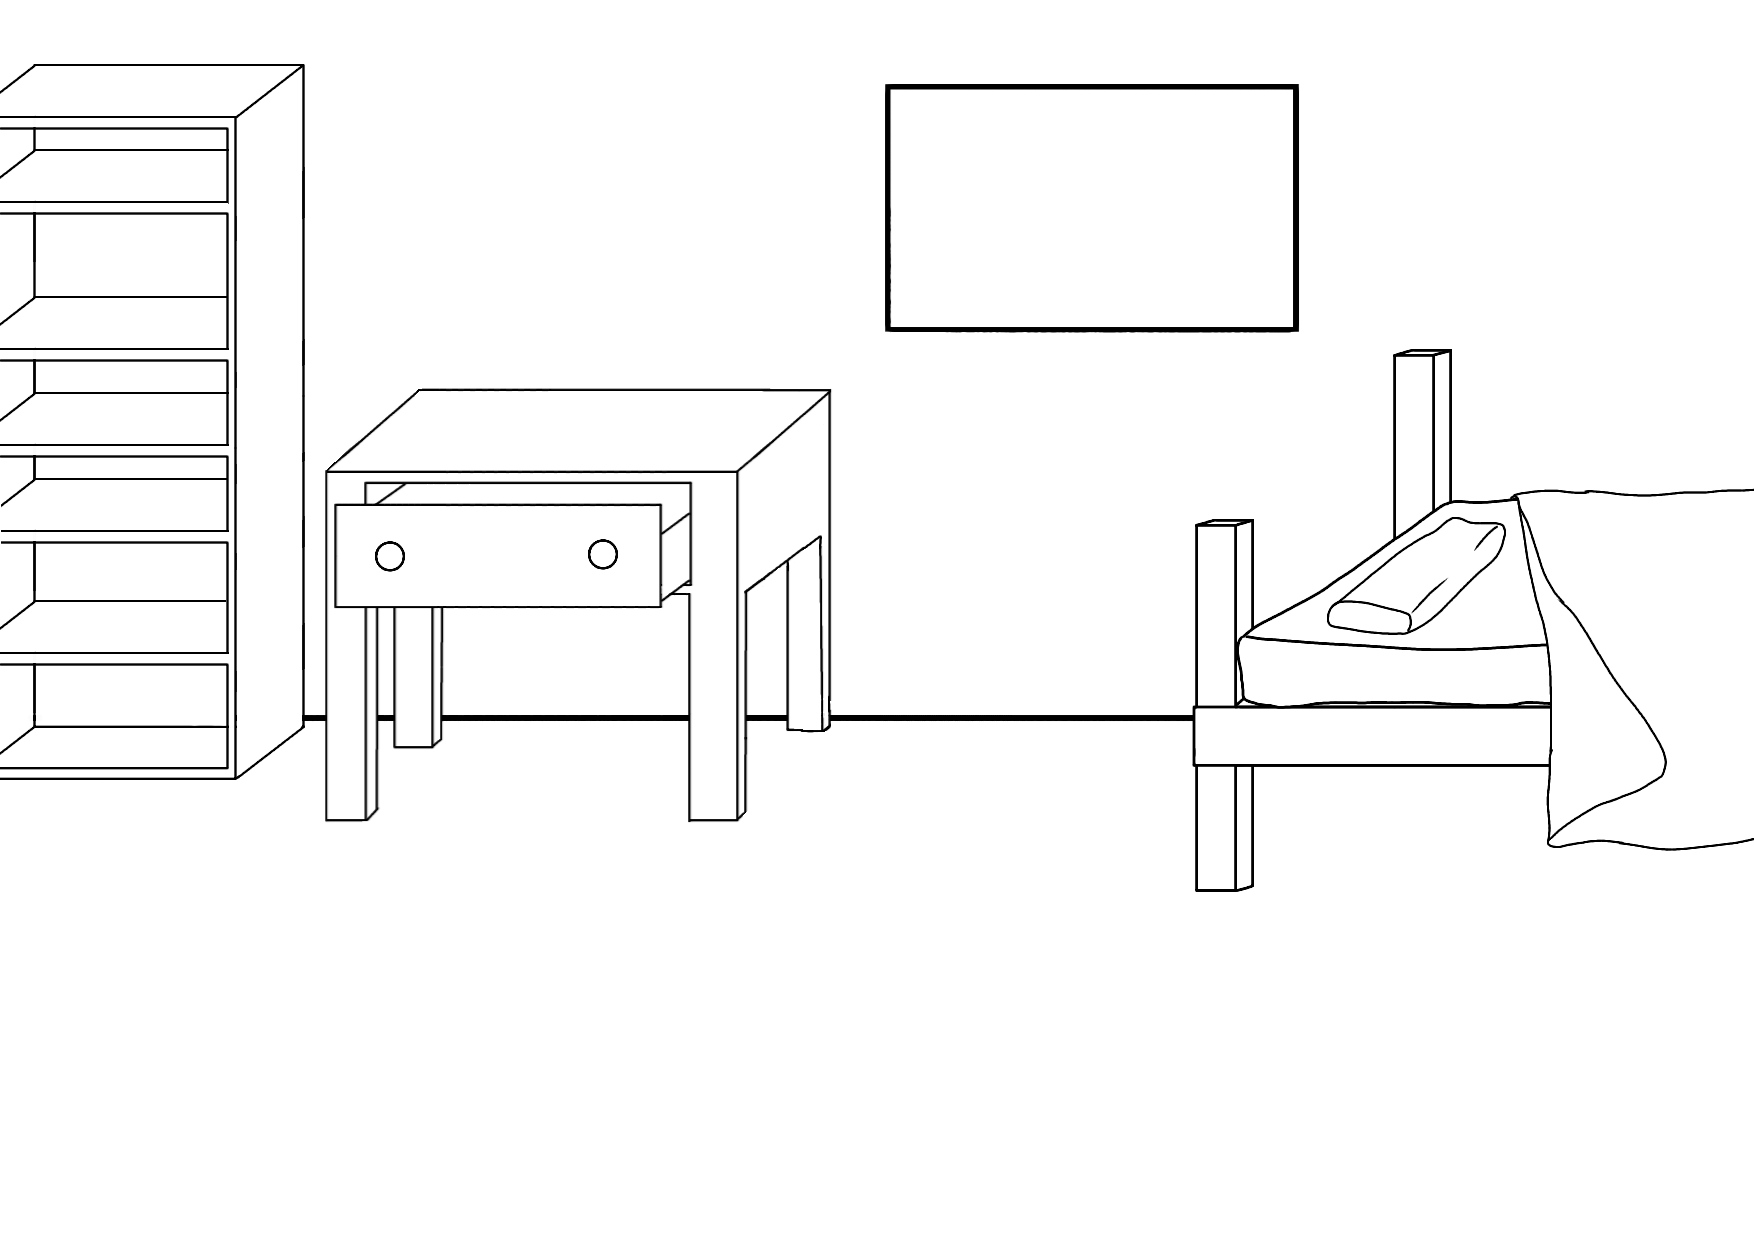
Without names.
With 11 blank names, a list of names, and a list of verbs. For the first year activity.
TL:DR Self Introduction lessons should introduce how you teach and that you CAN teach more than it introduces your parent’s house and all the stock photos you could find to convince everyone you used to have friends…
First year students are a lottery. If you’re lucky you’ll get a heads up from the elementary school assistant language teachers (ALTs), the Japanese Teachers of English (JTEs) at your junior high school, or possibly your company or the city BOE. Most of you will have no idea though, especially if you’re a new teacher. So what’s the single most important thing for you? It’s is NOT your first lesson, despite what some companies and ALTs have been trying to tell me for years. The single most important thing is control.
I don’t advise EVER disciplining your students, that’s not your job and doing so could get you in trouble, a lot of trouble. Any and all control you have in a classroom will be won or lost before you set foot in the class. That PowerPoint slide show of your childhood home, abandoned pets, and food you won’t realize you miss until it’s too late and it dawns on you that finding decent bacon in Japan isn’t going to happen… is, in my opinion, worthless fluff that at best will just waste a class period and at worst set you back into a secondary interactive mannequin roll for the rest of the year.
Be a F***ing Teacher
JTEs don’t always trust ALTs to teach. For good reason too, I’ve met other ALTs and not many of them impress me. Possibly, your one and only opportunity to showcase your creativity and ability to teach is that one lesson where you do your “self-introduction.” What if… and I know this will sound crazy to a certain ALT/company who argued with me on this a lot… instead of a slideshow, you run a goddamn lesson. You show the students what it’s like to interact with a foreign native speaker and make the kids excited to interact with you. What if the student’s keep pestering their JTE, asking him or her when your next class is going to be? What if the JTE saw you getting students engaged with English? Wouldn’t that be f@’k!ng insane? But ultimately it’s up to you… you can, for your first lesson with your new JHS students, just download a portion of the internet for them to look at and really showcase those slide swiping skills. Or you can be a teacher.
Maybe I should ask Alexa…
On the use of PowerPoint, (since covid this has changed)
On use of PowerPoint, I am not against it entirely, but it is something that should be used to support your lesson, not be the whole lesson. And I am also leery of technology unless I know for a fact that there were be a low to zero chance of technical difficulties arising.
Not all schools will be very tech savvy. Usually there is one teacher who is the go to guy/gal for that stuff, so if he or she can assist you then great, but if they’re busy will you be able to do it yourself? You need dry runs to make sure you know how to use the equipment.
And school computers aren’t exactly powerhouses either. Did you put animations in your PowerPoint? Did you program some macros? (catch me while I swoon) Did you embed video? Odds are the school computer’s processing is powered by a cockroach on a treadmill.
We updated to windows 10. There seems to be a 5% random chance of the computer refusing to wake up from sleep. That’s better odds than me though…
Or did you make your PowerPoint on your personal computer and then the school informs you that USB sticks are prohibited on school grounds entirely. Or is it like my schools where school computers can only use USBs unsullied by outside devices…
PowerPoint and technology can be an incredibly powerful tool, but it can also be the man-made sh!t creek you get stuck on without a paddle. Understand the limitations and the fail points. My biggest issue was, I wasn’t using PowerPoint during regular lessons because setting it up ate too much class time. And in the 10+ years I’ve got into teaching I’ve only seen one JTE teacher who used PowerPoint. She actually brought her own TV to school and hooked up her iPad to it so it worked really well. If that’s not you though, then using it for your first lesson is a onetime gimmick and unnecessary.
Your first lesson
The first step is making your self-introduction lesson. Personally, I have a few pictures I printed of where I’m from. I don’t like including personal pictures of my family. I do woodworking so I’ll show off some things I’ve built. If you have tangible things those work well too, clothing items, toys, fertility sticks, etc… But I only aim to talk for about 5-15 minutes max. I like to let the students then lead the remainder of the class with Q&A.
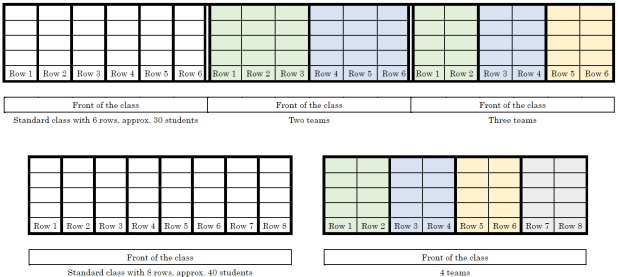
I divide the class into 3-4 teams, if there are 6 columns of students then I’ll make 2 teams by splitting the class in half or 3 teams consisting of 2 columns of students per team, if there are 8 columns then I’ll make 2 or 4 teams similarly.
I will give them 2 minutes to think of questions they want to ask. After each question the student who asked me a question will play rock-paper-scissors with me. If they win their group will get 3 points, if they lose then their group will get 1 point. Points are tracked on the chalkboard. But I tell them that if they can ask me a question in English then the point scale is double, but for today if they ask in Japanese it is fine. For ALTs who don’t speak Japanese your JTE will translate for you. For ALTs who do speak Japanese I still would recommend letting your JTE translate, because it creates a language gap the students should want to cross by using English and it also helps the JTE become involved in this part of the class. I also ask the JTE to pick the students who get to ask questions. This lesson, my aim is to gauge the English level of the classes. Some classes I’ll only get English questions. Some will be mix. Some will be mostly Japanese. I will make note of this and talk to the JTE about my observations.
Communicate
The second step is teamwork. It’s important to explain to your JTE what you’re going to do for the lesson, their role, and your reasoning behind your plan. Instead of the JTE watching you click a mouse, the JTE will understand that you’re not just introducing yourself, you’re also testing each class to check their English speaking level, how well they can work in groups, and how outgoing they are. This is important information for the JTE to figure out as well. It’s not something they will expect you to be thinking about. But they should. And you should.
Good Luck
So, I hope your first lessons go well. Remember, you’re an English teacher and a cultural ambassador. You’re not an English teacher and an [insert your country here] teacher. Yeah, the kids may be interested in your home country, culture, and customs. There is no reason you can’t teach them about any of that. But there’s no reason to try to do that all in one day in your first lesson. You can easily incorporate that into future lessons. I would argue that it would be more memorable if you shared your culture bit-by-bit over their entire 3 years in JHS.
I’ve made a huge mistake…
Lead a boring PowerPoint presentation and you risk the JTE assuming you don’t offer much English educational value. That could result in you standing in the back of the class only coming to life when the JTE asks you to read a passage from the text book. I can’t guarantee this is an avoidable fate. But you can try your best to avoid it.
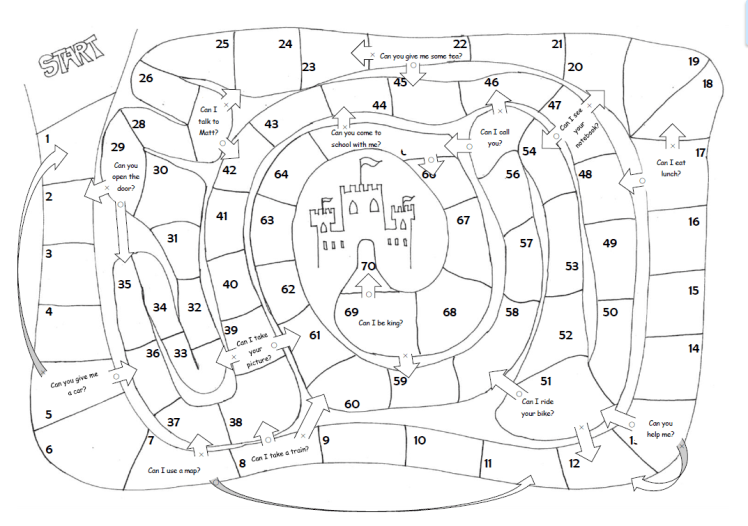
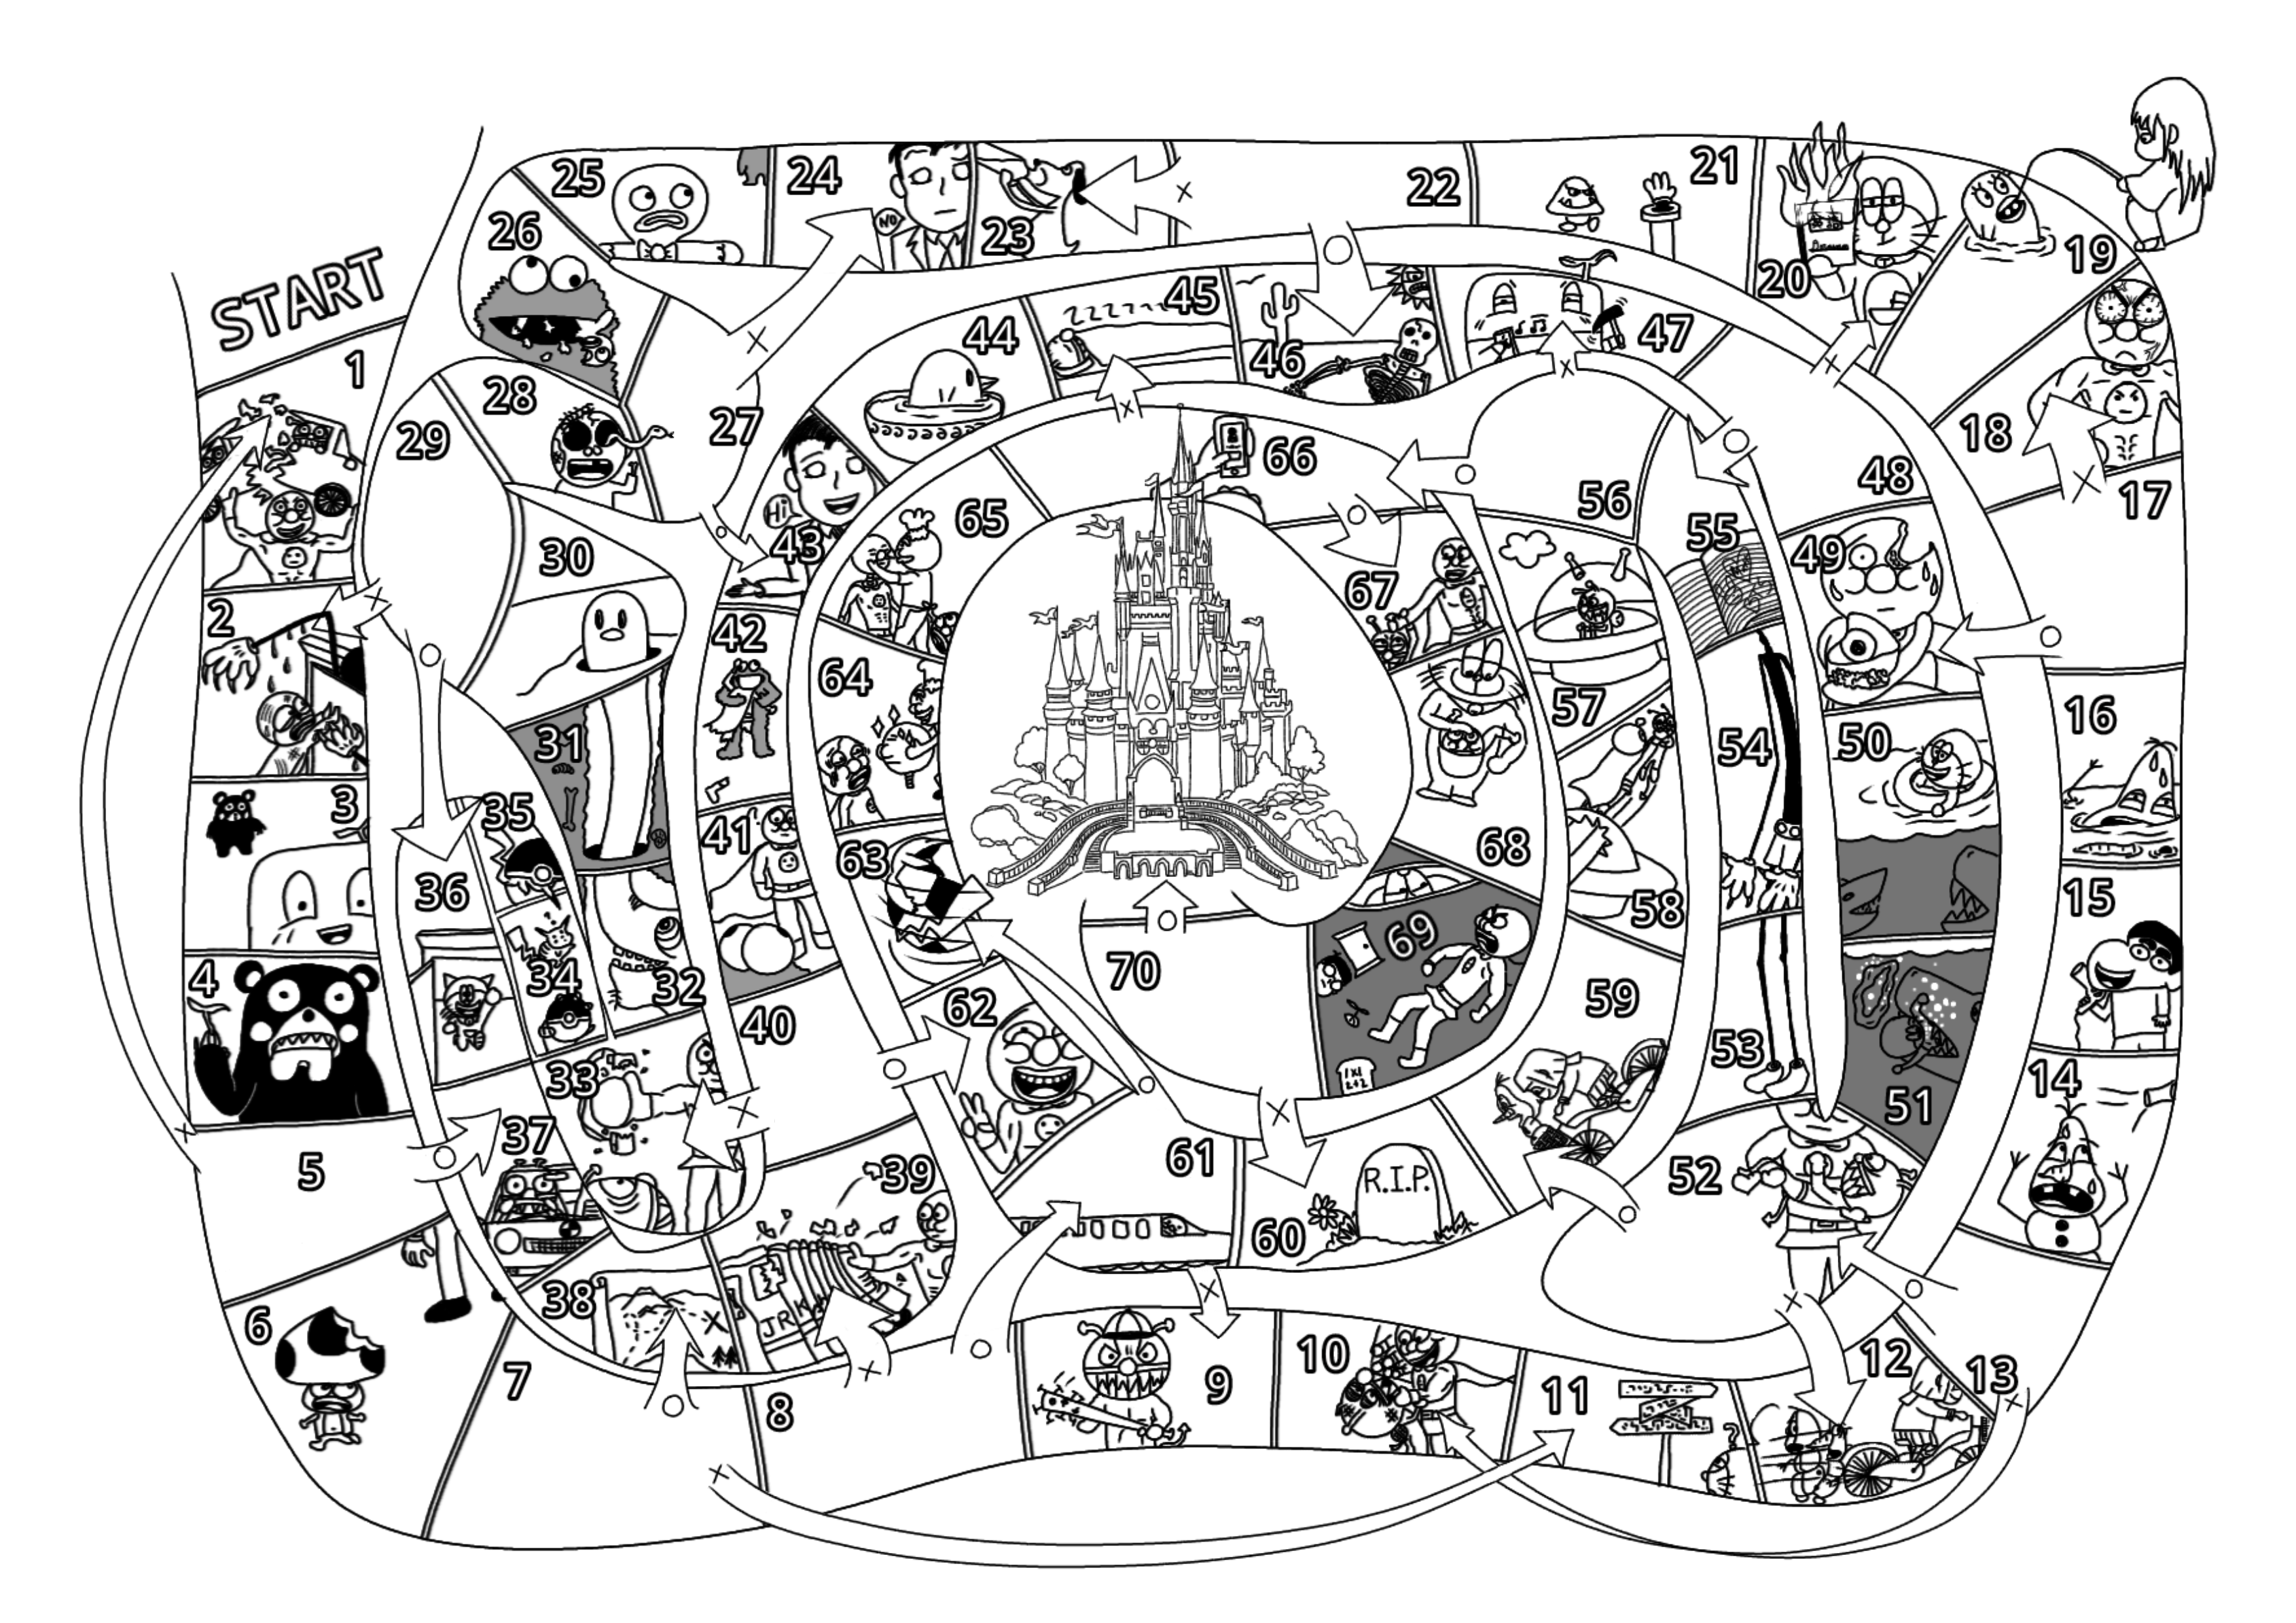
I thought that it would be interesting to see the process I go through taking old materials and digitizing them.
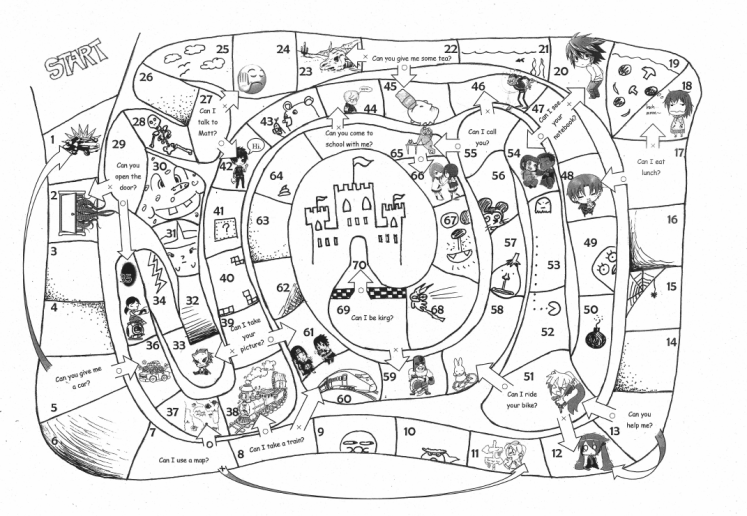
This is the original I made. I hand drew the board and used clip art and MS Word to add grapics, text, and numbers.This is the image without grapics, and this is the one I used as the base for the digital version.
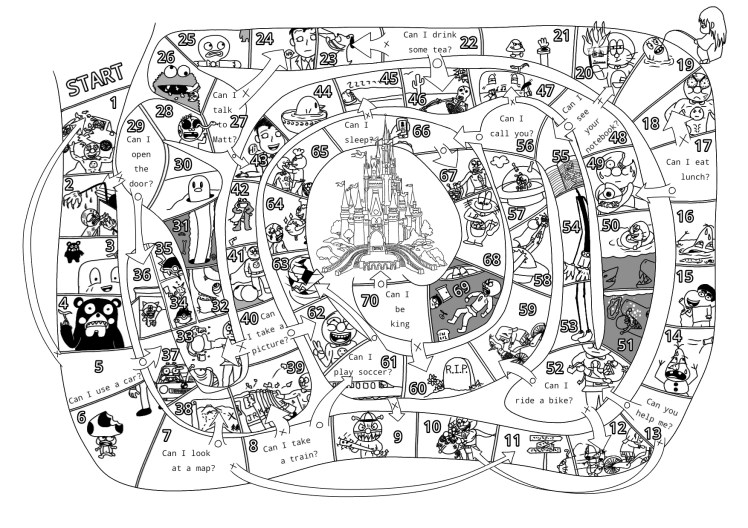
This is a video of me drawing from start to finish on my Samsung tablet. I used an app called Ibis Paint X that is free. All the elements are now hand drawn. Some of the images are from other things I’ve drawn that I then imported and redrew so it would look cohesive. The castle alone I traced from a coloring book image, I can draw decently, but that level of detail would’ve taken me hours to come up with something comparable.
Here is the finished product. Here is a blank template you can fill in your own questions. I would suggest downloading it and then drop it into microsoft word and use text boxes to add your own questions.
How to play the King Game
Here is a detailed lesson plan for the King Game. It can be used for 1st year students studying, “Can I~?” / 2nd year students studying, “May I~?” / and 3rd year students studying, “Could/Would you~?”
I’ve not kept a consistantly updated blog in… never. They always die after a few years. That’s fine though. Nothing lasts forever, or at least that’s what I keep telling myself whenever I hear mumble rap.
I’m using this sort of as a cloud storage for my teaching materials. I do already have a google drive and several USBs filled with stuff, but I figured, “Hey! I worked hard over the years developing these ideas and philosophies so I should share them for free with anyone.”
As far as teaching goes I really enjoy it! I hope you do as well. A lot of variables go into that though… many of which are not in your direct control. If you were like me you received a week of training before you started your job as an assistant language teacher. From what I can remember the only useful thing I heard all week was, “Smile.”
The whole week of training they kept going through these books with really shitty cheap formatting with loads of lessons. Some of those were probably really great lessons, but it was too much. I didn’t know where to start and I shoved those books into a desk drawer where they still remain to this day, I assume… But it really pressured us to keep things fresh. Be a flood of new ideas of creativity with the start of each new day…
That is possibly the worst thing to do as an educator. My advice is figure out what the students enjoy and then use that repeatedly. Beat that horse until it’s unrecognizable, because as it turns out kids don’t mind doing the same thing over and over again. Really that should come as no surprise. Anyone who has played boardgames knows you don’t just play the game once and then never want to touch that game again. If you ever played Sim City you never just built one city and then instantly moved on satisfied to never build a second one. If you ever played Pokemon you never got bored after the first digital dog fight. You kept grinding that content until you caught all the damn pokemon.
Constantly introducing new games and activities will be detrimental in the long run. Explaining new rules cuts swaths out of your class time. If the students have new grammar that they have to practice, but they know the framework of the activity and lesson already, you can maximize the ammount of time they have to engage with the material. The only one and done lesson plans should be the ones that bomb. If you have a great lesson identify why it was good and cannibalize that for the rest of your career. It’s not to say you can’t come up with new stuff, but it’s better to do varying iterations of something that the kids enjoy, then confuse them every lesson with something new.
So… first post, this my first bit of advice to you, take it or leave it. I will now begin to upload worksheets and activities that have worked for me in the past. I teach mainly in junior high school, but many of these ideas could be adapted to teach all ages. If you have advice don’t keep it to yourself. If you have questions then ask.
Disclaimer… I’m using our school’s very old computers to write this blog, upload materials, and also create a lot of the worksheets. This computer is still running Windows XP. The interface sucks and sometimes it deletes large contents of what I’ve written. This post in fact originally contained a funny annecdote about my first day of school, but after multiple crashes and I’ve finally figured out how to sort of get this to work, but I am too annoyed to re-write everything I orginally had written. Maybe it’s for the best. It was kind of rambling.


